Filed under: Recipes > Desserts
Previous in ToC: Greek Almond Cookies (Kourabiedes)
Next in ToC: Six-Ingredient Vegan Butterscotch Pudding with Mango and Blueberry
Tags: maple_syrup, coconut, comfort_food, coconut_butter, coconut_oil, chocolate
Four Ingredient Vegan Chocolate Truffles

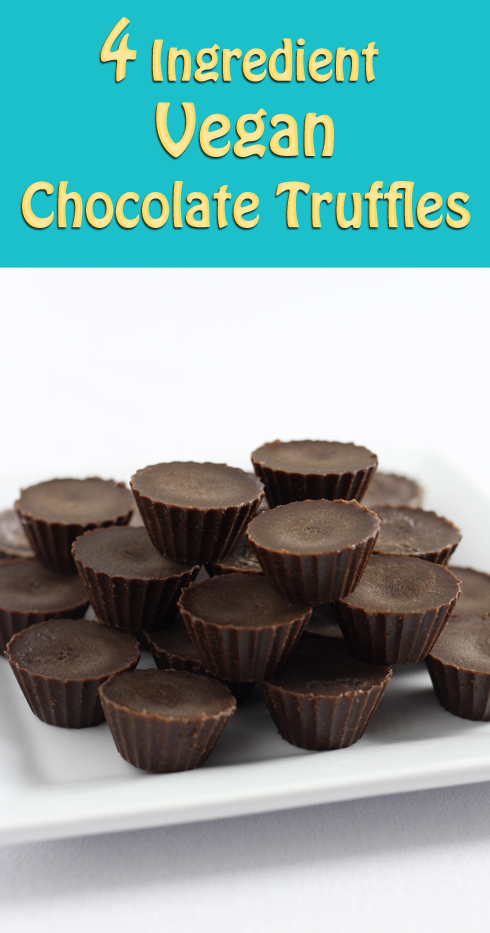
Lately, I've been trying to be more deliberate about having something sweet on hand after meals. It doesn't need to be huge or elaborate, it just needs to offer some contrast to the meal. Because the meal is often spicy, the dessert offers a little relief too. Like I say, nothing over-the-top. When I used to take the train a lot, they would bring around small, very chocolatey truffles at the end. It was a highlight. I want the same, but vegan.
The inspiration for these truffles came from a lovely raw vegan fudge recipe from Gormande in the Kitchen. I made this recipe a couple of times, and while I enjoyed it, I was looking for something a fair bit simpler, just a nice vegan chocolate that you could pop into your mouth for a little chocolate blast. I whittled the recipe down to its basics, and it did exactly what I hoped it would.
Coconut butter was a new ingredient for me. I had to hunt around a bit for it—I ended up finding it at a healthfood store.
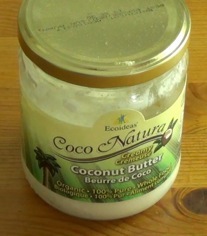
Bad news first: coconut butter is a tad expensive. The internet offers some ideas for making your own from scratch, which I'm sure I'll eventually do, but for now, I'm rationalizing the cost against the cost of decent store bought chocolates. We're still way ahead. The good news is that coconut butter is ridiculously delicious. (Apparently it comes in different flavours and people spread it on toast like peanut butter. I can see the appeal.) It's really just ground coconut, and not surprisingly it tastes like coconut, but somehow when it's mixed in with the other ingredients, the coconut flavour isn't overwhelming. Of course, that's subjective and if you're not a coconut fan you might not be a fan of these. But I notice the chocolate flavour more than anything, with a slight undertone of coconut. (Oooh, now I'm writing like a posh food critic.) I hope you'll like the combination of flavours, but there's really only one way to find out!
One of the reasons the coconut flavour isn't overwhelming is that the second ingredient, which happens to be coconut oil (not to be confused with coconut butter), is "refined" as opposed to "virgin." I learned the hard way a while back that virgin coconut oil is a whole lot more coconutty than refined. I use refined most of the time now, whether it's as a substitute for butter in baking, or as a substitute for vegetable oil for popping popcorn. It tastes pretty neutral and not at all unpleasant. The other two ingredients are straightforward: cocoa powder and maple syrup.
I also invested in a couple of inexpensive kitchen gadgets: a silicone truffle mould and a funnel to make filling less messy. If you don't want to make little chocolates, I think they'd work equally well as small chocolate tarts. Use cupcake papers and muffin tins—fill them an inch or so. The mould I used to make the little chocolates is sold online as "Freshware CB-101RD 30-Cavity Silicone Mold." You can find the funnel by searching for "Wilton Easy Pour Funnel." These little things did exactly what I wanted them to and they were easy to use (and nobody paid me to say that!).

The magic thing about the funnel is a trigger that keeps the liquid from flowing until you're ready.
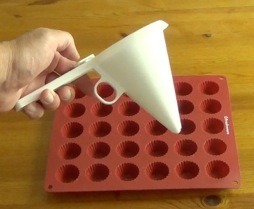
Ok, I think that's everything that's a little new or different. Let's get started!
Ingredients
1/2 cup coconut butter
3/4 cup refined coconut oil
1/2 cup cocoa powder
1/2 cup maple syrup
Directions
Put a couple of inches of water in the bottom of a large pot and place a large glass bowl on top. Let the water warm up over medium-low heat for 5-10 minutes.
Add the coconut butter and coconut oil to the bowl and let them melt together, stirring frequently, about 5-10 minutes.
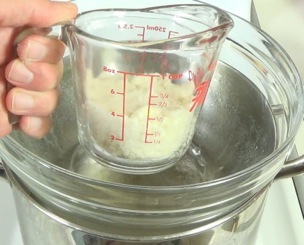
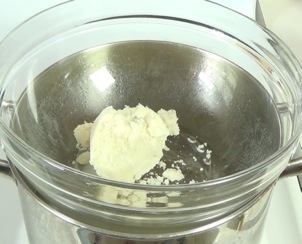
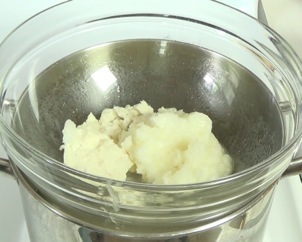
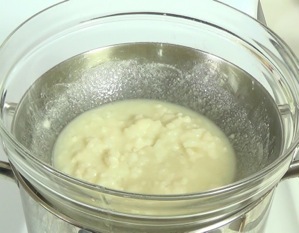
Keep stirring until the mixture has completely melted.
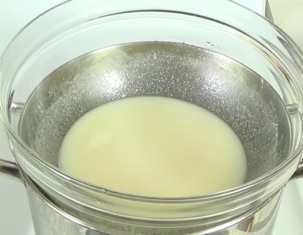
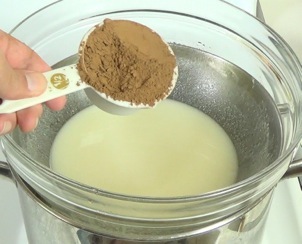
Add the cocoa powder and whisk until completely combined.
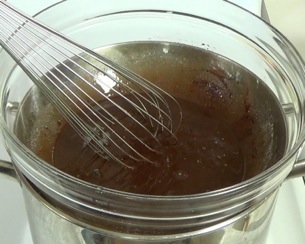
Add the maple syrup and whisk again.
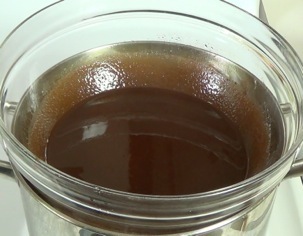
While warm, this mixture will flow easily. Carefully transfer the liquid from the bowl into something with a lip for pouring. At this point, do whatever you need to do to get the chocolates into the desired shape. I poured it into the funnel and then funneled it into the moulds.
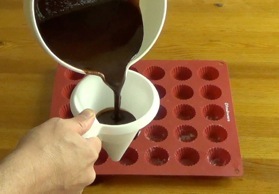

(If you're using a silicone mould, learn from my mistake and put it on a baking sheet *before* you start pouring. I had to do some serious gravity-defying yoga to get it onto the baking sheet without spilling. Live and learn.)
Transfer the chocolates to the fridge for a few hours to firm up. They get a little melty at room temperature, so I think you'll want to keep them refrigerated until you're ready to serve them. That's it! Hope you enjoy.
Want more like this? Please subscribe via the RSS Feed so you can read new posts on your favourite news reader.
Posted: Saturday, July 2, 2016
You might also like
