


Filed under: Recipes > Light Meals & Snacks
Previous in ToC: How to Make Thick Tahini Sauce
Next in ToC: Surprisingly Zesty Vegan Queso Dip
Tags: hummus, chickpea, healthy, tahini

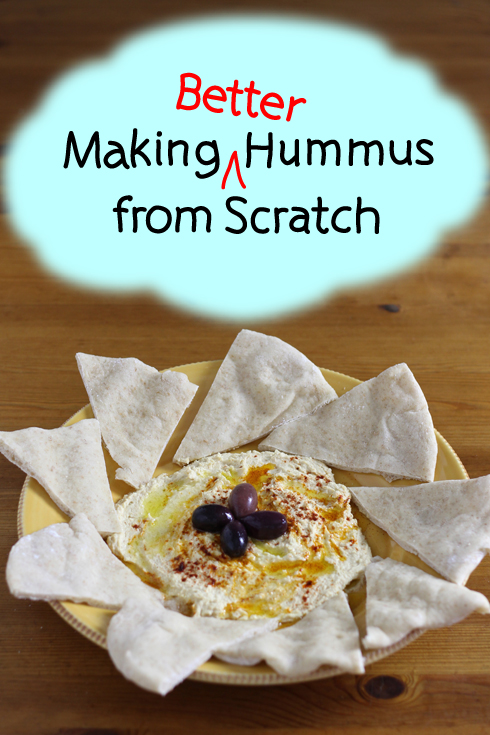
Making Better Hummus at Home
So, I guess the first question to deal with is why. Why make your own hummus at home when there are so many options at the grocery store that just require the effort of opening a lid? Two reasons mainly: cost and freshness. My local store sells prepackaged hummus for about 8 bucks a pound. A quick back-of-the-envelope calculation puts homemade at a little less than half that. I know it's not going to lead to a significantly earlier retirement, but I enjoy small acts of rebellion against the corporate hegemony that would charge me twice as much for something I enjoy a good deal less. (Cue the RATM.) Then there's the freshness factor. The garlic and lemon flavours of freshly made hummus pop out in a way that I've never noticed with storebought. A little olive oil on top, some fresh bread, maybe some olives, a couple of beverages, that's a nice way to spend a little time on a warm weekend afternoon. This kind of happiness does not come out of a plastic tub.
I'm going to assume that you're on board with the reasons behind making hummus at home from scratch since you're still reading. The main question now is how. That turns out to be a little complicated to explain since everybody's kitchen is equipped a little differently. The only thing you really need is a food processor—everything else is negotiable (although a whisk is really nice to have). My hummus recipe has gone through a few evolutionary steps as it has morphed from an occasional treat to a weekly staple. Your own recipe will most likely change as well after you make it a few times. The important thing is to dive in and make a batch, then let it work on your imagination to encourage you try different things.
The first question is whether to start with dry chickpeas or canned. The dry chickpeas take some extra preparation, but you have more control. I personally like the flavour of chickpeas cooked at home, but I have definitely made perfectly acceptable hummus with canned. Totally up to you. Next is the tahini, a paste made of ground sesame seeds (and only ground sesame seeds). It kind of resembles natural peanut butter, and shares the tendency for the oil to separate and float to the top after a while on the shelf. It will need stirring before use. It may take a little time to find a brand of tahini that you like. Take your time because there are some delicious ones out there. Jarred tahini can be a little expensive, but my experience is that sometimes tahini sold in bulk stores can be a little bitter.
We need to talk about a couple of small persnickety things that I've learned the hard way. Most hummus recipes you see online will have you adding olive oil at the blending stage. I used to do it this way, but lately I've been enjoying it a lot more if I mix in the olive oil by hand on the serving plate. The mixture isn't perfectly homogeneous and that's a good thing for the overall experience. Finally, a short word about garlic: it's raw, so there's a balance to strike here. I find that more than a clove or two overpowers the other ingredients and can be a little painful to eat. I definitely fight my usual urge to go crazy with the garlic and keep it to a reasonable amount. I think that's everything—let's get down to it.
Ingredients
I've done two separate versions of the ingredients with slightly different quantities depending on whether you're using a can of chickpeas or starting with dry chickpeas. The directions are the same, except of course you have to cook the dry chickpeas before you can use them. If you're going with dry, see the instructions on how to cook dry chickpeas at the very bottom of this page.
If you're using a can of chickpeas:
1 can of chickpeas, drained (17 fl oz or 540 mL)
1 clove of garlic, roughly chopped with a little salt
1/4 cup fresh lemon juice
1/2 tsp salt
1/3 cup tahini
olive oil for drizzling
parika for sprinkling
If you're using dry chickpeas:
Note: See directions for preparing dry chickpeas below1 cup dry chickpeas
1/2 tsp baking soda
1-2 cloves garlic, roughly chopped with a little salt
1/4 - 1/3 cup fresh lemon juice
1/2 tsp + 1/2 tsp salt
1/2 cup tahini
olive oil for drizzling
paprika for sprinkling
Directions
Start by juicing the lemon(s). I find it helps to strain the juice through a fine-mesh strainer to trap any stray seeds and the larger pieces of pulp.
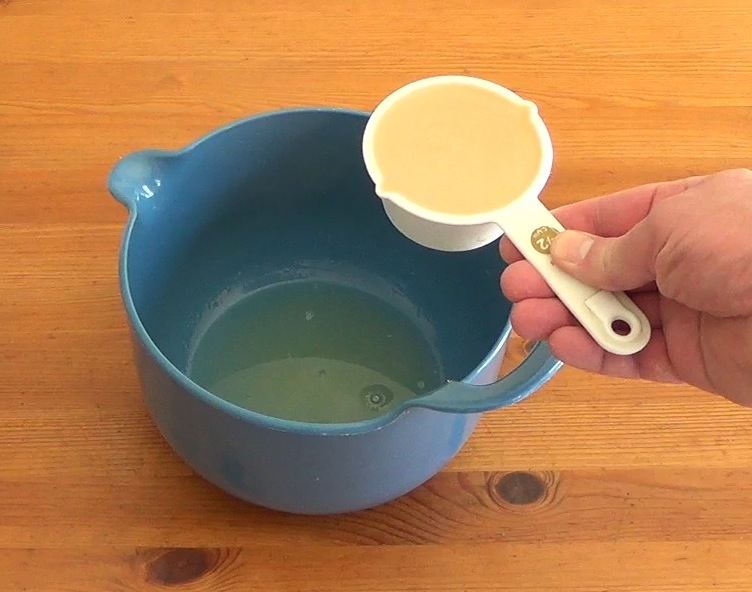
Also, fill a separate measuring cup about half a cup full with water and add an ice cube. Set aside.
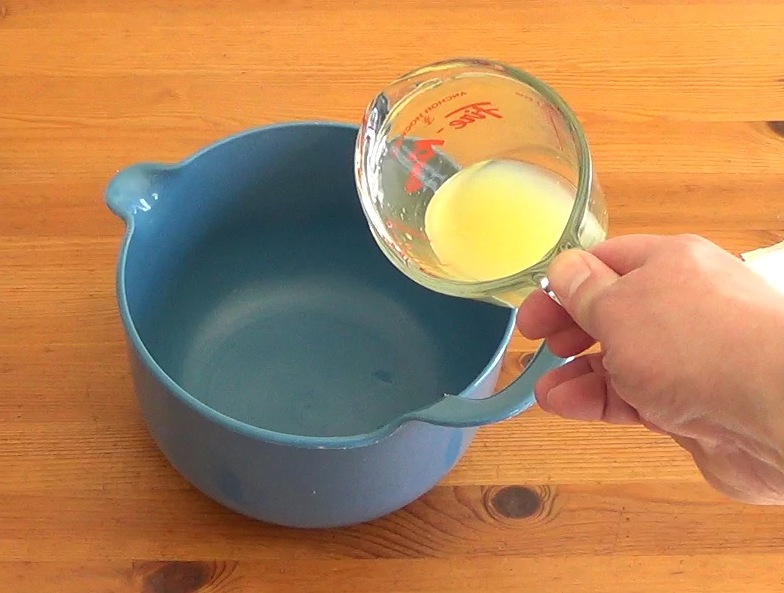
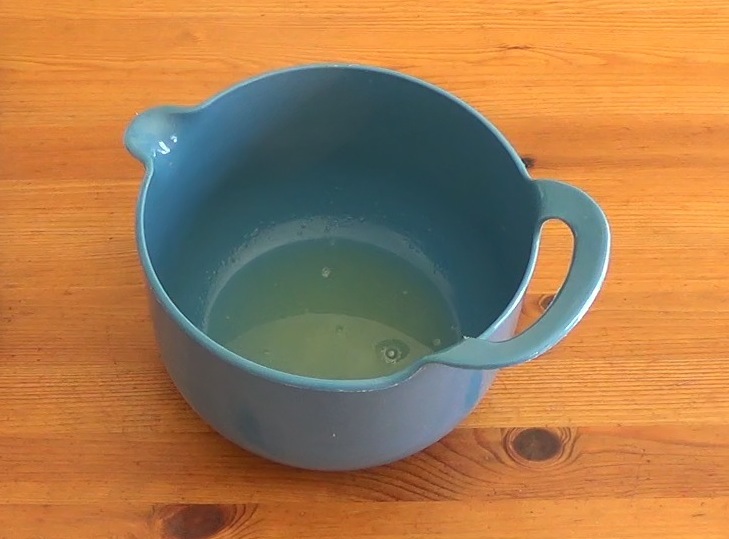
Combine the lemon juice with 1/2 tsp salt in a medium-sized mixing bowl.
Stir up the tahini in its container to make it smooth and homogeneous, then measure it out and add it to the bowl.
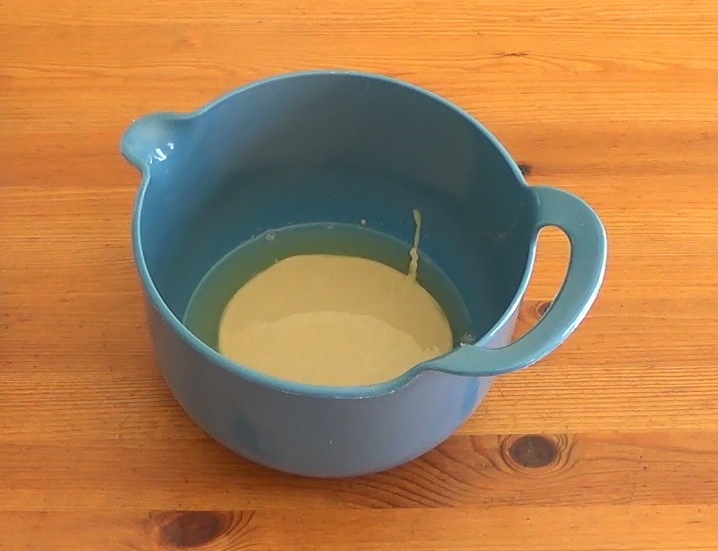
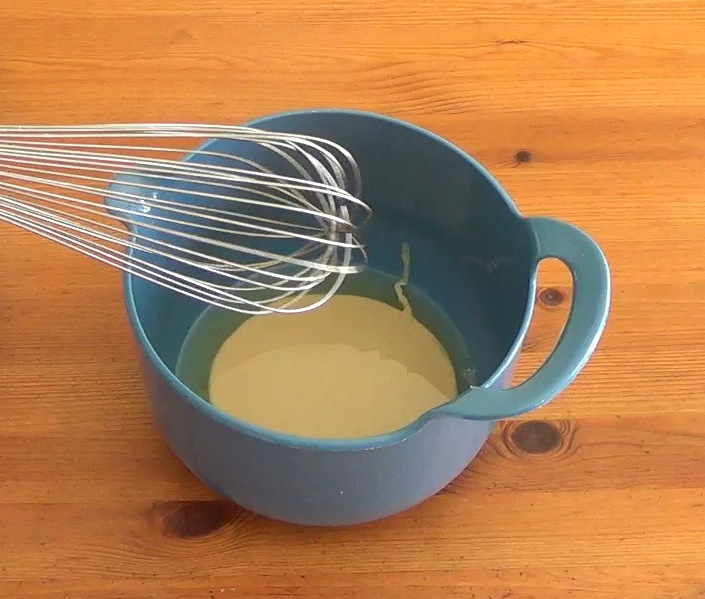
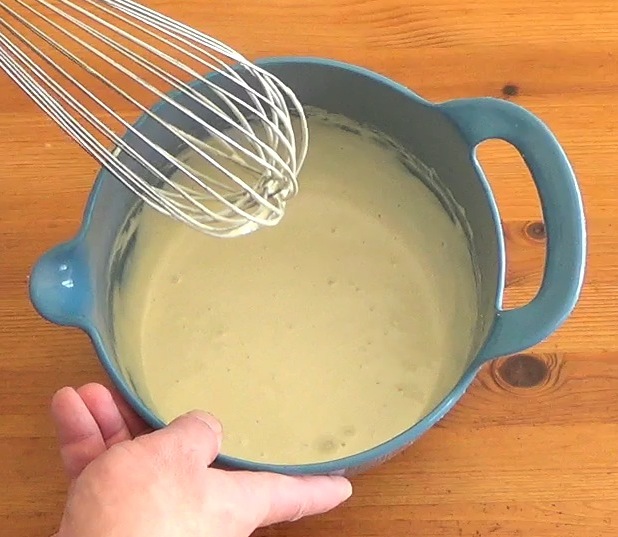
Using a whisk (ideally), mix the tahini vigorously into the lemon juice.
Once combined, it will thicken dramatically in a very short time. When this happens stop whisking.

Add a small amount of the ice water and whisk again.
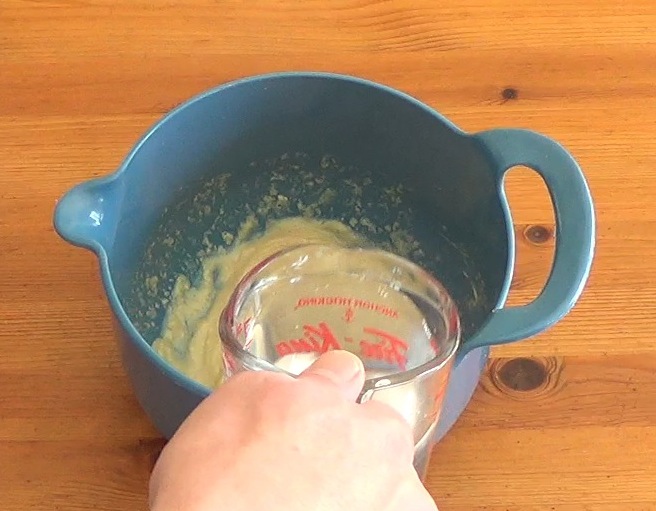
When the mixture combines, this time it will be just a little bit thinner. Keep adding water and whisking until the mixture looks a little thinner than the consistency of ketchup. It should pour pretty easily, but not be watery. You'll know it when you see it, and you shouldn't need to use all of the water to get there.
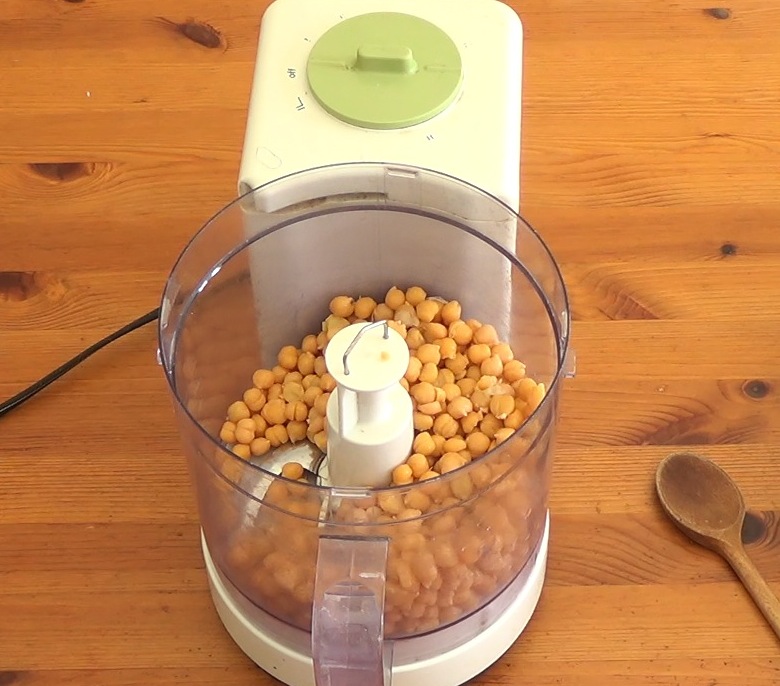
Next, add the chickpeas to the food processor.
Roughly chop the garlic with a little salt and add it in with the chickpeas.
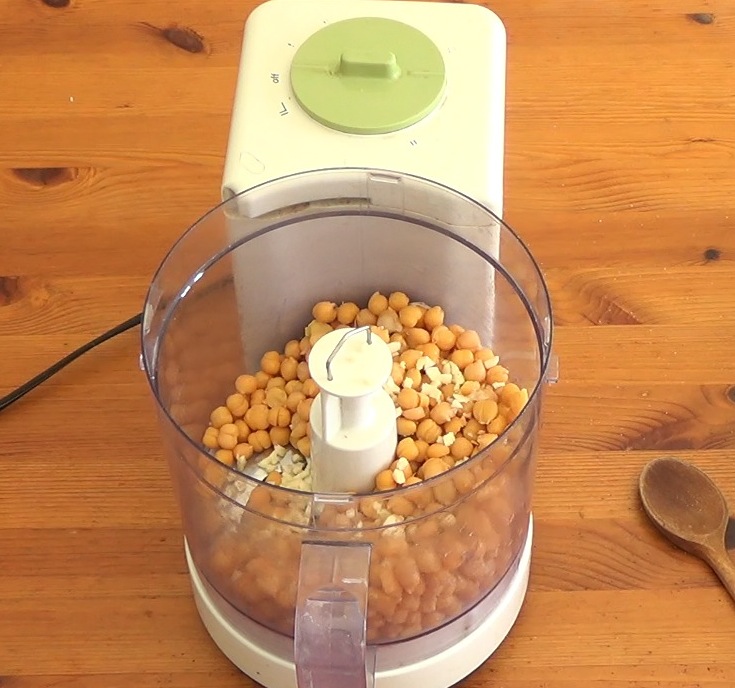
Process the chickpea mixture into a coarse meal, stopping once or twice to scrape down the sides.

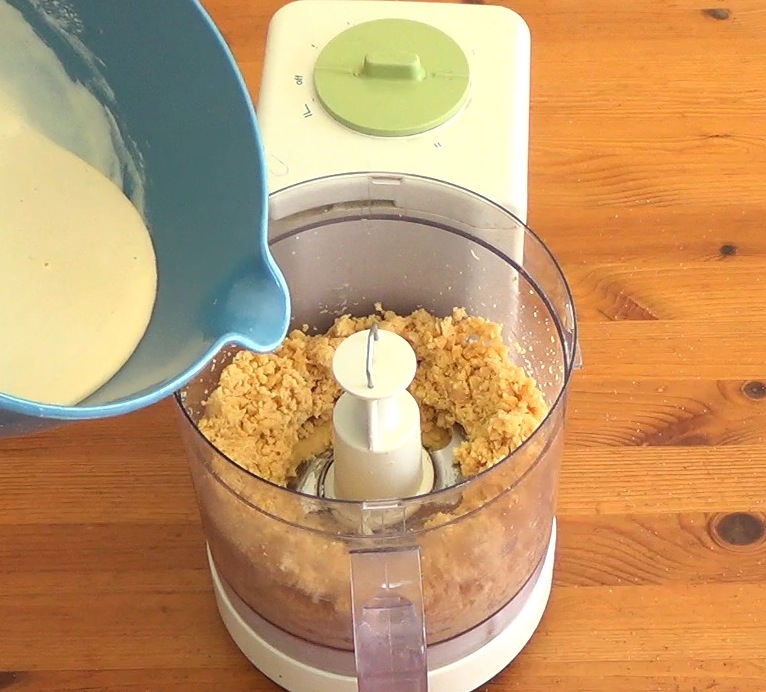
Add the tahini mixture on top.
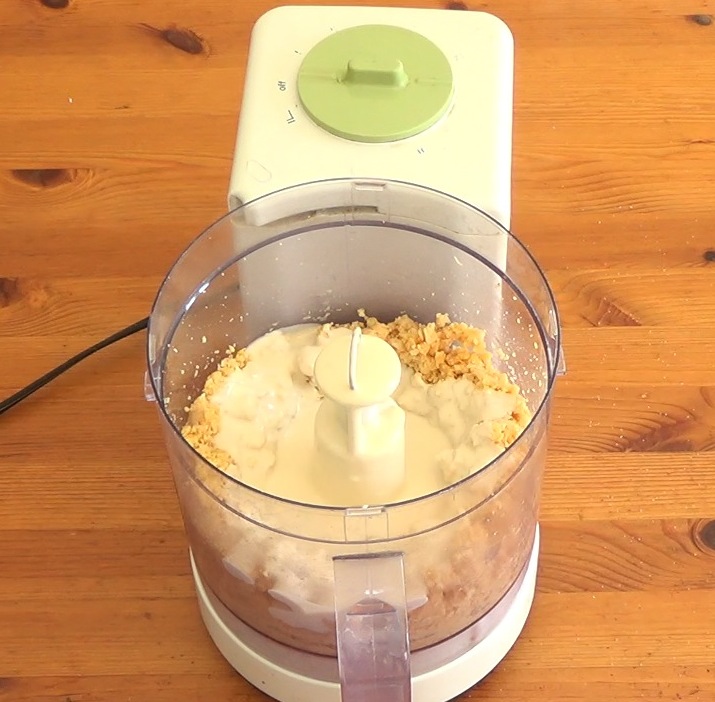
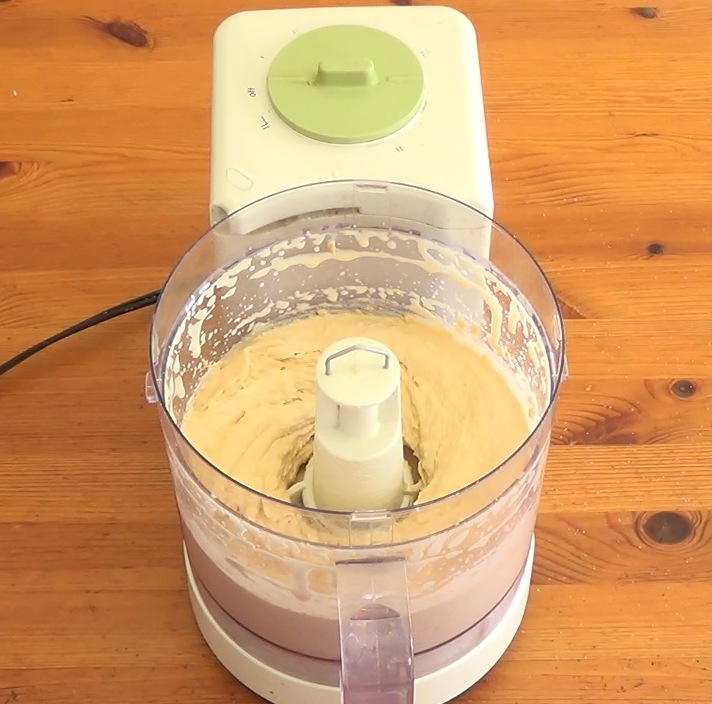
Process to the desired smoothness, scraping the sides as needed along the way. Some people like it chunky, some like it utterly smooth. You are making it from scratch, you get to decide.
Serve on a big, deep plate, drizzled with olive oil and sprinkled with paprika. Pairs nicely with pita bread and shady patios.
How to Prepare Dry Chickpeas
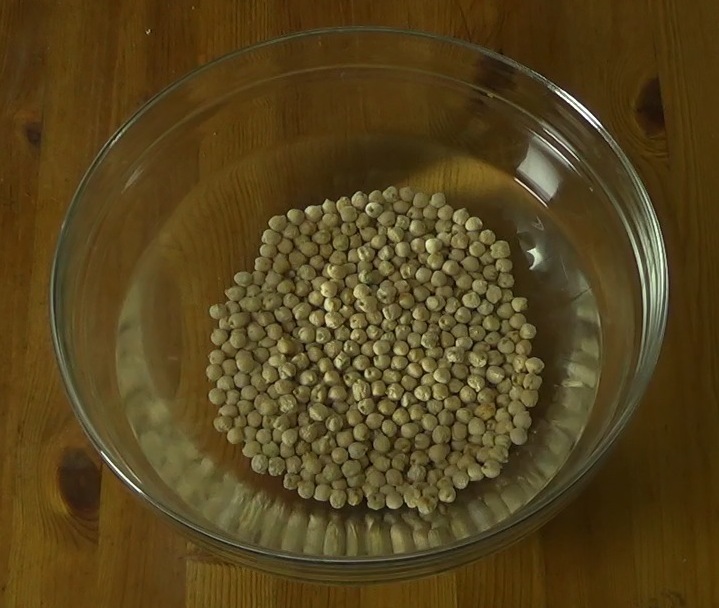
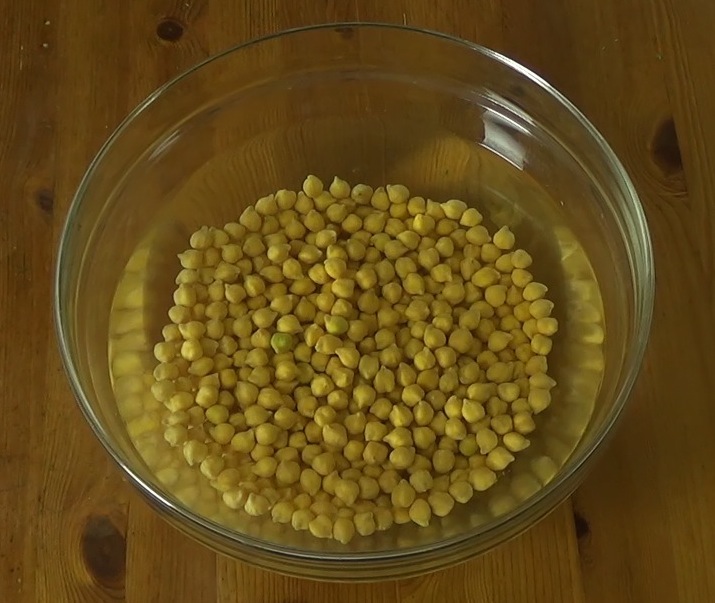
Starting the night before, sort the dry chickpeas eliminating any green ones, small ugly ones, stones or other debris (it happens). Rinse, then place in a large bowl of water. Optionally, mix 1/2 tsp of baking soda into the soaking water. (The baking soda seems to help break down the outer layer of the chickpeas and gives a softer result.)
After about 8 hours, drain the chickpeas and rinse again.
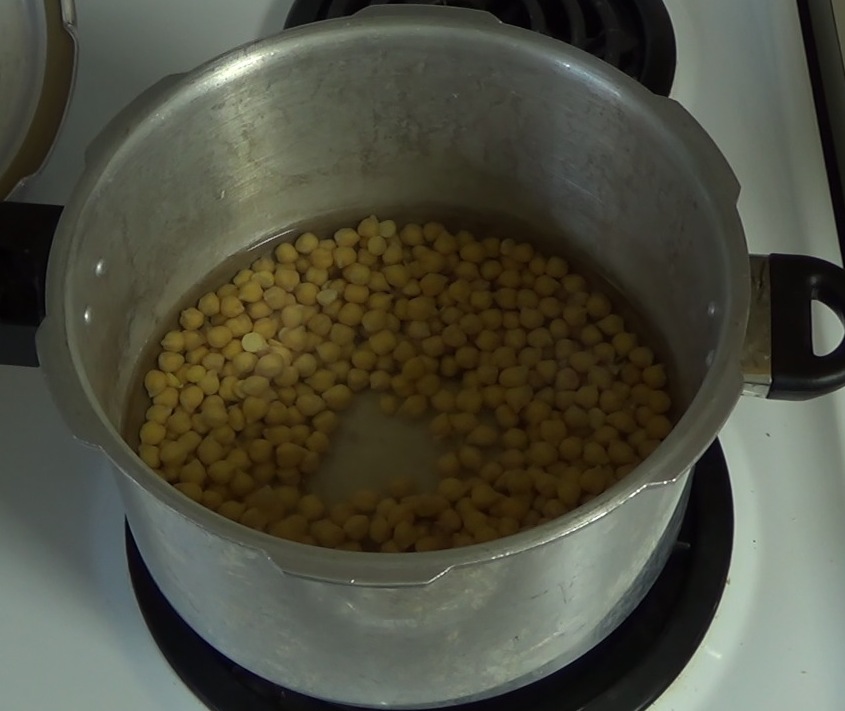
Next is the cooking, which depends on the equipment you have on hand. I like to use a simple pressure cooker, but I've also done this with a small crockpot or a regular pot on the stove. The pressure cooker gets the job done efficiently and gives the chickpeas what seems to me to be a creamier texture.
If you're using a pressure cooker, combine the chickpeas with 3 cups of water and 1/2 tsp of salt.
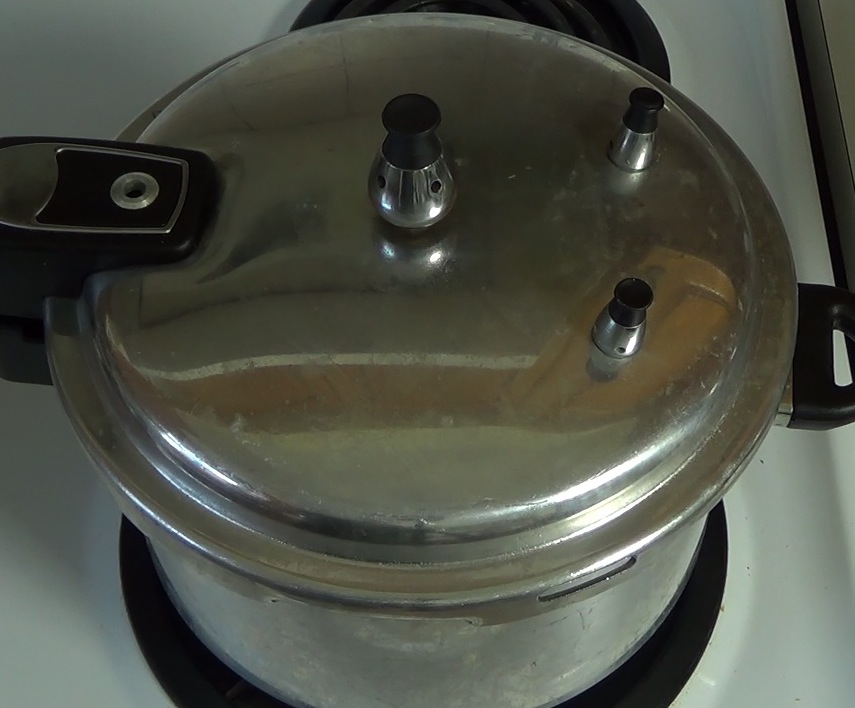
There are a few different kinds of pressure cooker out there and variations within those kinds. My best recommendation is to follow the directions for yours. I let mine heat up over medium heat, and after the steam seals the safety lock, I time out 13 minutes.
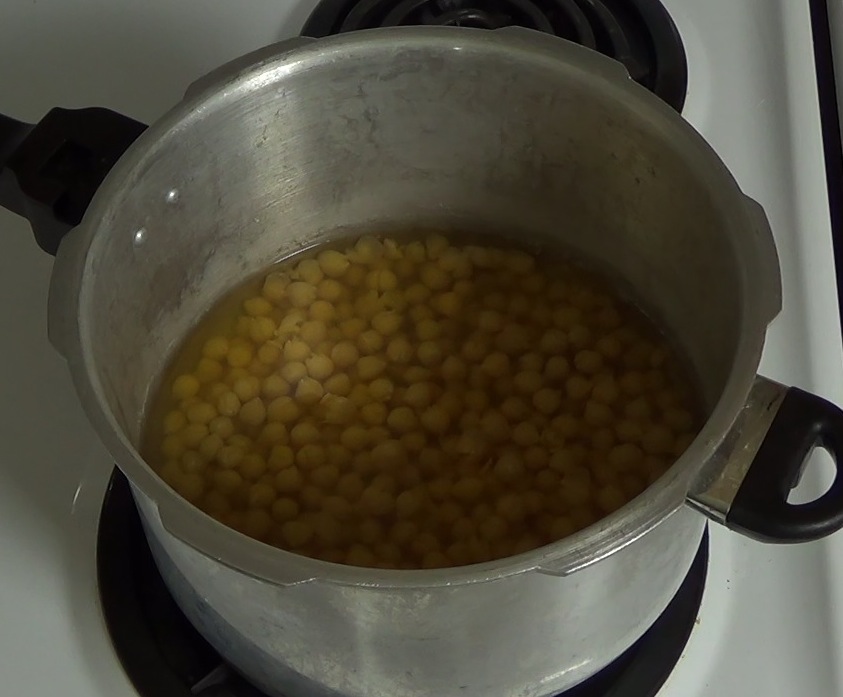
Then, I turn off the stove and let the chickpeas cool a bit before taking off the lid and draining them in a collander. The texture should be creamy and the taste should be slightly salty.
If you're not using a pressure cooker, you can simmer the soaked chickpeas in a small slowcooker on high (or a pot with a lid on the stove on medium-low) for 3-4 hours to get a similar result.
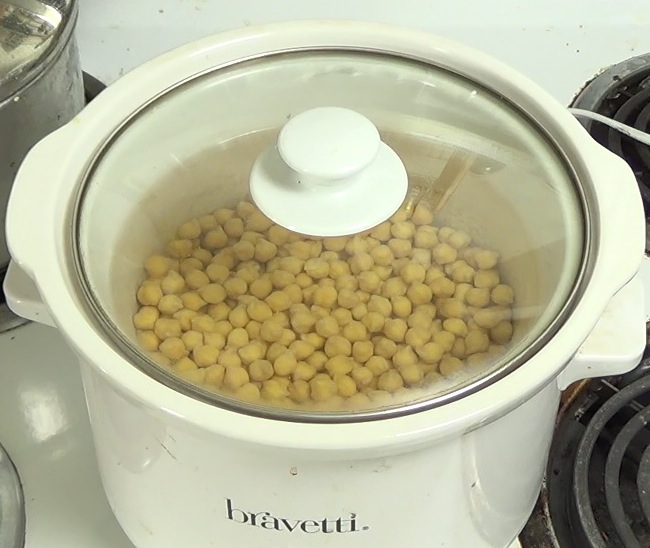
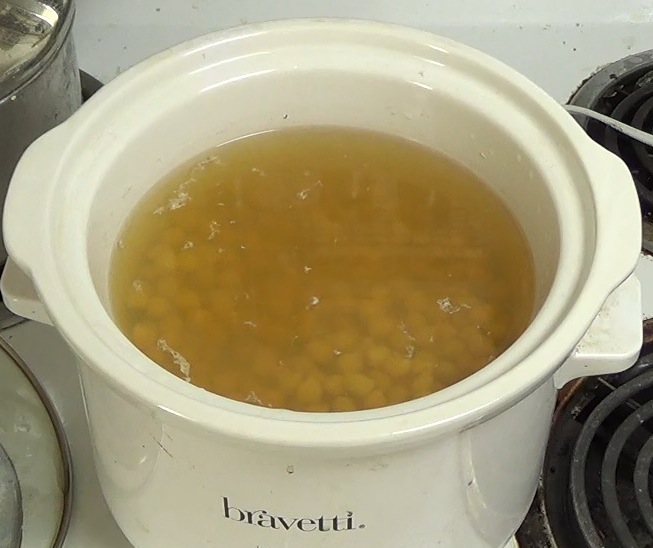
Again, let them cool a bit before draining.
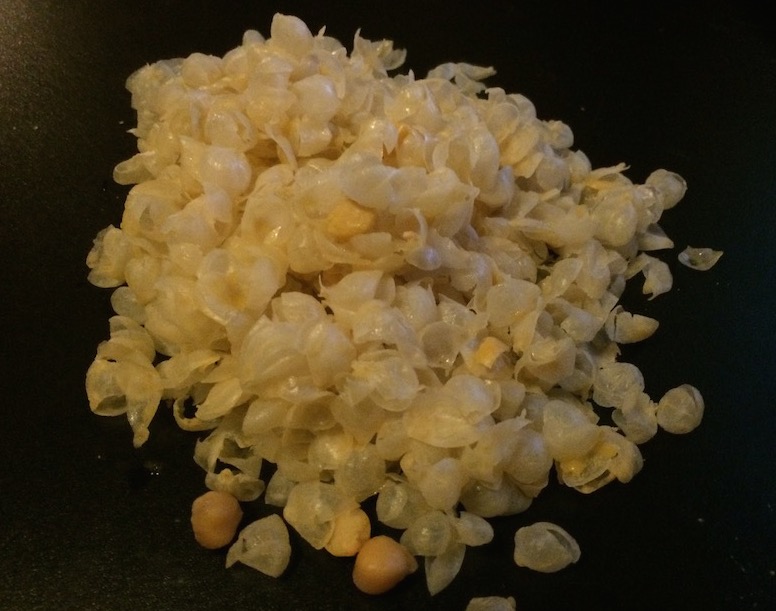
The one final question—to peel or not to peel. When you're working with canned chickpeas, you don't have to deal with this question because they come peeled. After cooking them at home, most of the chickpeas will have a loose outer skin. Some people swear by the need for peeling this skin off to get a creamy hummus. The technique they recommend is to hold the chickpea between forefinger and thumb with the pointy end of the chickpea pointing toward your palm. Apply a little pressure and the chickpea should squirt out of its skin into a waiting empty bowl. Repeat. I've done it. It does result in a creamier hummus. Is it worth the time? Only you can judge. Here's the collection of skins to prove it can be done.
Want more like this? Please subscribe via the RSS Feed so you can read new posts on your favourite news reader.
Posted: Wednesday, July 6, 2016
You might also like
