


Previous in ToC: Simple (but Delicious) Ordinary White Bread
Next in ToC: Big Soft Pitas for Wraps
Tags: corn, tortilla, Mexican, taco

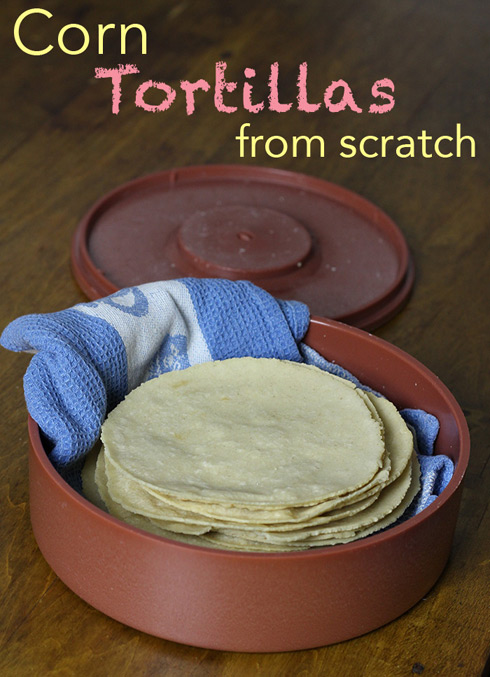
Corn Tortillas are Easy to Screw Up, but also Easy to Get Right (And I've Done Both)
Every so often, I get the urge to start a new DIY project in some area that I know nothing about. I usually underestimate the steepness of the learning curve and ultimately spend a lot more time than expected in a cycle of searching online, making mistakes, doing more searches and slowly improving until I've learned what I need to learn to accomplish the goal. For some reason, this hard-won knowledge is more valuable to me than it would have been if some expert had shown me the "right way" from the beginning. I doubt I'm alone in this. Maybe it's the sweet feeling of accomplishment that only comes from making disappointing mistakes and then slowly improving by not making those mistakes again. Whatever the motivation is, I think we're all somewhat addicted to the feeling of starting out a newbie then slowing figuring out how not to be a newbie.
Which brings us to corn tortillas, my most recent kitchen craving. If you type "corn tortillas" into Google, you will of course get the usual astonishing array of described experiences. Google and Youtube and Pinterest have definitely increased our access to other people who are feeding their DIY impulses. I sometimes try to cast my memory all the way back to 1997 to remember, unsuccessfully, what working on a project was like before Google came along. The problem today is never a lack of information, it's finding the right information to help you move forward. This staggering collection of advice on the internet is the raw material for becoming an expert yourself, but unfortunately it's only raw material. As you sift through other people's experiences and advice, you get a headstart for building your own experiences. As you gain experience, you keep what turns out to be useful and eliminate what doesn't.
Making corn tortillas at home. It sounds simple, doesn't it? Needless to say, my own learning curve has not been a slow and steady climb. I've made some barely recognizable, practically inedible corn frisbees out of what seems like a very straightforward recipe. While I thought the most difficult part of mastering tortillas was acquiring a tortilla press from my local street market, it turned out that the subtleties of mixing, forming and especially cooking the tortillas all have a big impact on the quality of the result. I wanted something soft and supple with a bit of chew to it. To get there, I needed to make a few batches and learn from my mistakes.
I'm not going to show you the short, uninformative youtube videos that I came across, because I only want to show you what helped me. That's not meant to slag all the youtube videos about tortillas, because I certainly didn't watch them all—there might be a gem in there that I just didn't find. What did help me immensely was a couple of really well written blog posts, which I didn't find until I had made a couple of batches of frisbees. I want to give those to you, because I think they make an excellent starting point for understanding the process, and you probably have enough frisbees at your house already.
The first gem of a blog post is this Fresh Corn Tortillas 101 post from Frieda Loves Bread. Here you'll find straightforward, step-by-step instructions, illustrated with photos. There are excellent details about making the dough, forming the tortillas, and cooking them to perfection using the genius trick of two griddles at two different temperatures. This post moved me forward in my own tortilla making about 1000%. When I talk about what ended up working for me below, you'll see a lot in common with Frieda's instructions.
Another outstanding tutorial on corn tortilla making can be found at Four Chord Kitchen. Not only will you see what worked for its author, but you'll also get an entertaining tour of his thoughts about the subject, in the form of a very well written intro. It doesn't hurt that the tortilla photos are stunningly beautiful. As with Frieda, you'll see the two-griddle technique demonstrated here, and the puffy, flaky, delicious result. (I have to admit that I'm still learning the right combination of time and temperature to get mine to puff right up like a balloon, but even at this early stage, I'm getting really big steam bubbles during cooking, which results in a wayyyy better tortilla than I ever made before. More practice required...)
These two excellent blog posts gave me the information and inspiration I needed to keep working on my tortilla skills. Now I'm going to describe my current approach, which owes a great deal to these two bloggers. First, let's talk about what you'll need.
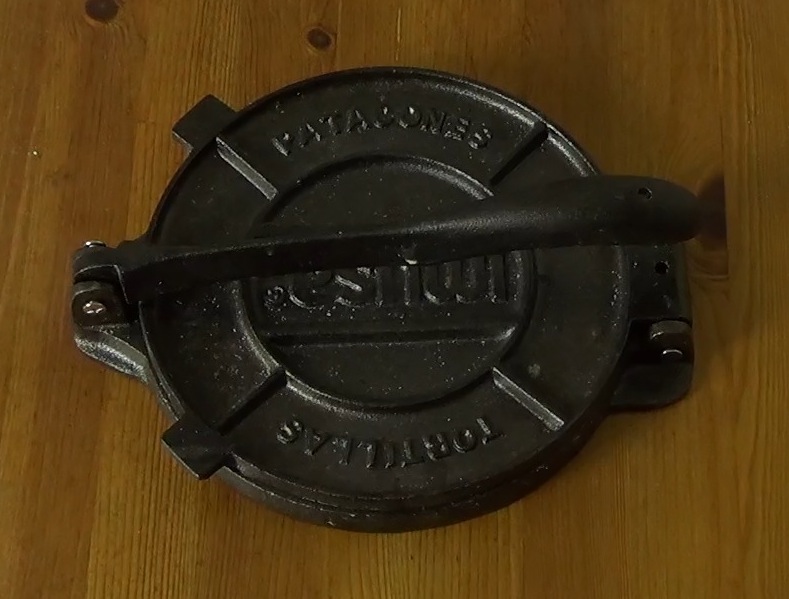
A tortilla press makes life easier for sure. I picked one up cheap at one of the Latin American food stores in Toronto's street market.
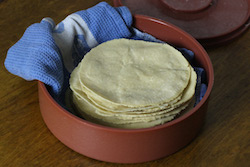
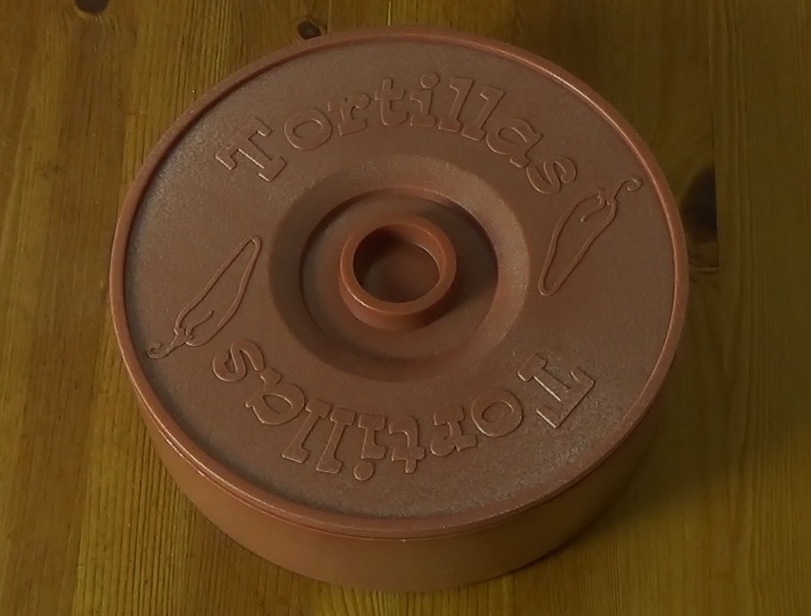
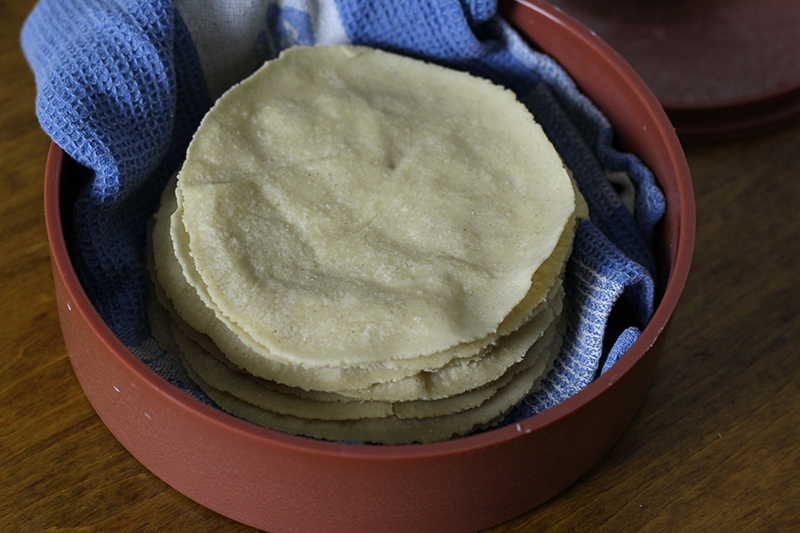
At the same time I bought the press, I also acquired a tortilla warmer, which is essential for trapping the steam generated by the just-cooked tortillas. This steam actually improves the texture of the tortillas as they cool—when they first come off the griddle they can be a little stiff on one side. Some time in the tortilla warmer with their friends makes them softer.
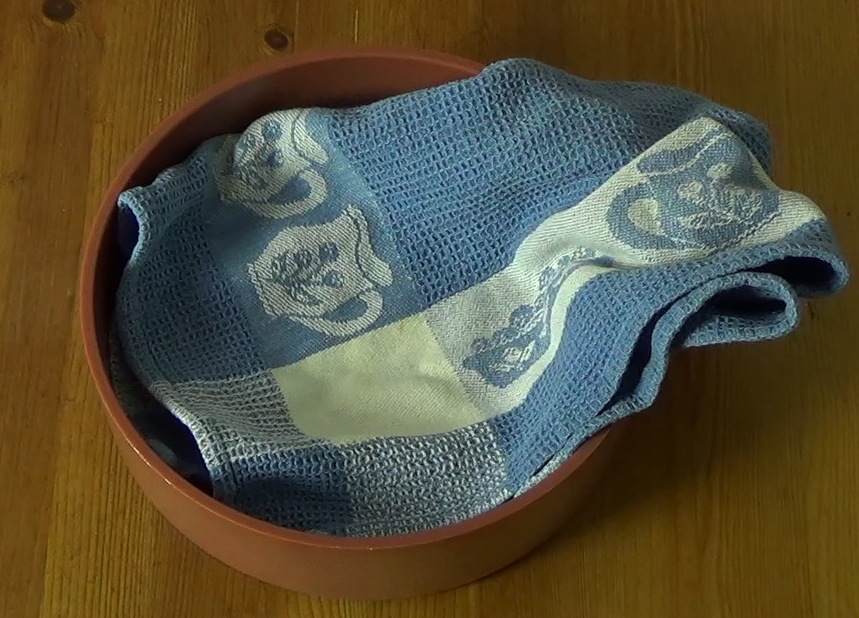
Put a small dry towel in the bottom of the warmer to absorb any condensation.
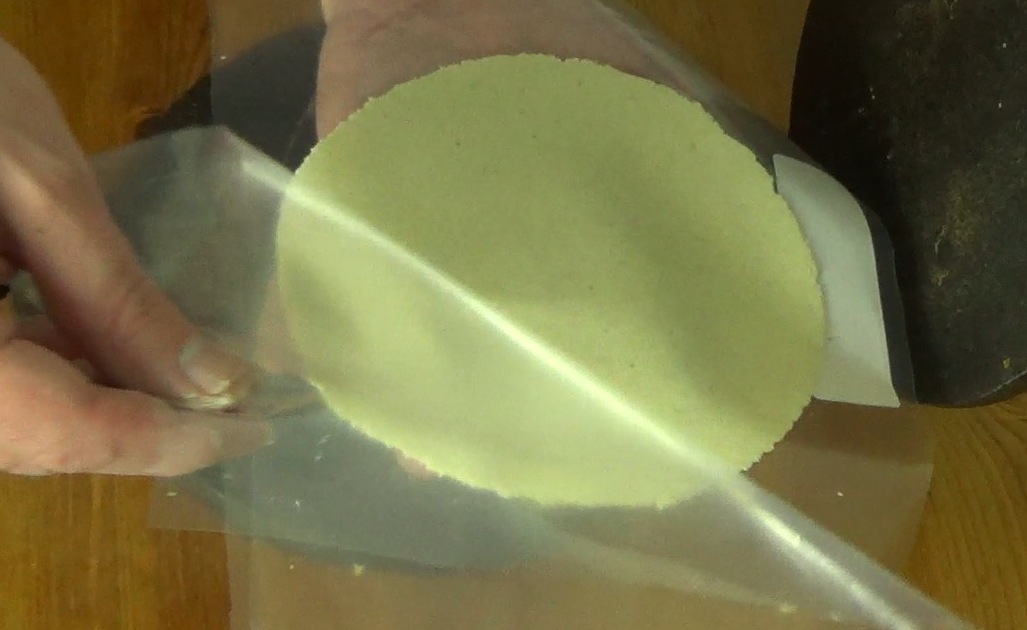
You'll also need some kind of plastic bag to cut into two squares. I use a large freezer bag, but everybody has their own favourite source of plastic. These squares sit between the tortilla press and the dough, making it possible to remove the raw tortilla after pressing. The plastic is carefully peeled off just before cooking, as shown below.

You'll also need two frying pans or griddles. One gets set at a medium-low temperature and the other is set at a medium-high temperature, for reasons that will become obvious in a minute.
Finally, (and I know this sounds silly) it helps me to use the built-in stopwatch app on my smartphone to time out the cooking, and more importantly, the flipping. If nothing else, it helps the tortillas all get cooked in a consistent way.
Ok, that does it for equipment. The recipe illustrated below will make about 15 taco-sized tortillas.
Ingredients
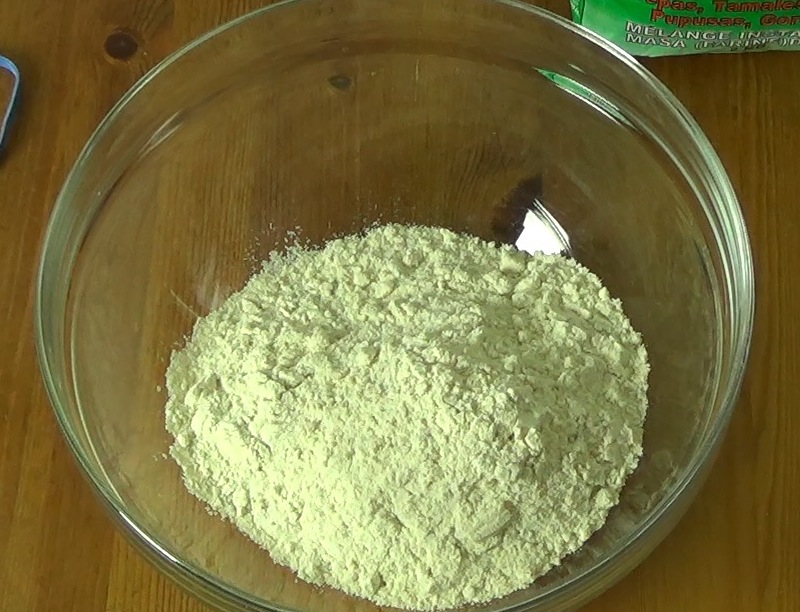
2 cups instant corn flour (maseca)
1/4 tsp salt
1 1/2 cups *hot* tap water
Directions
Mix the maseca and the salt in a large bowl.
Add the hot water in small amounts, mixing well after each addition.
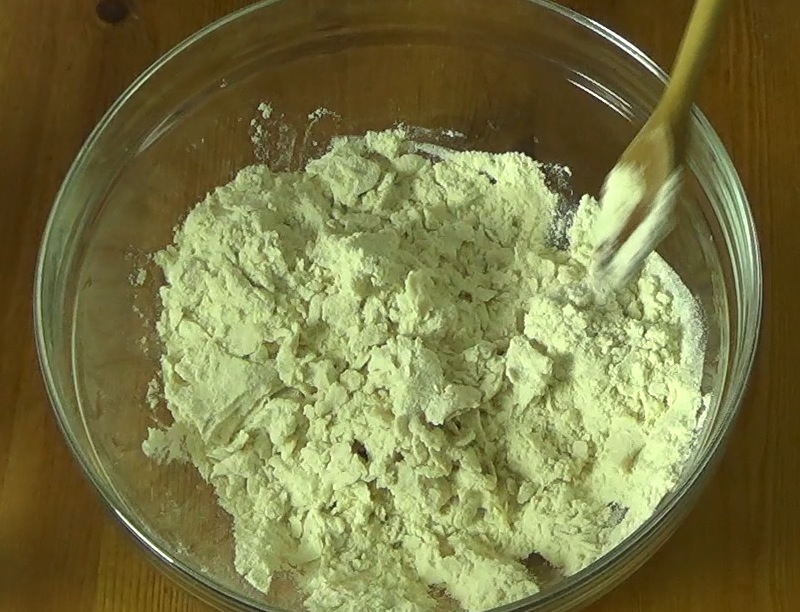
The clumps will get larger and larger.
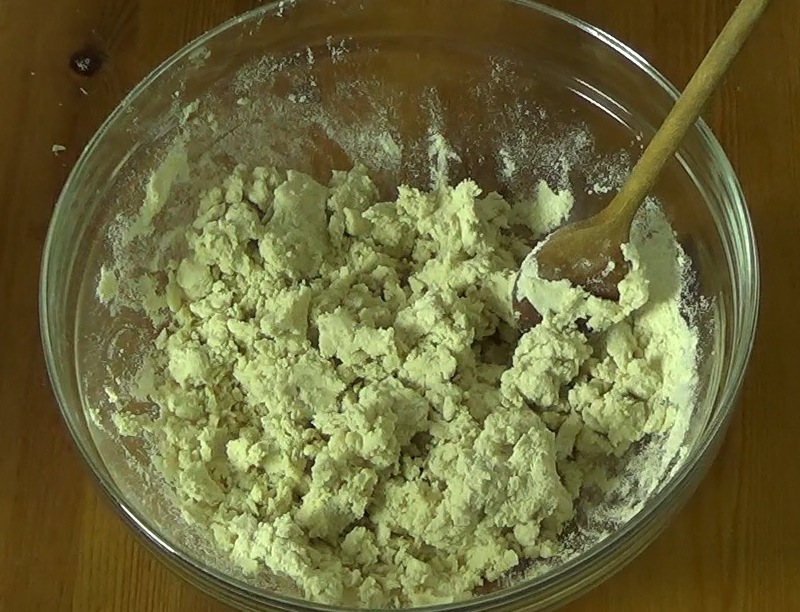
Until you need to start mixing with your hands instead of a spoon.

It may not be necessary to use all of the water to get to the desired consistency, which is about the consistency of play-dough. It should be dry enough that it doesn't make a mess on your hands as after you squeeze it. But it should be wet enough that if you pinch the dough between your thumb and forefinger, the edges of the pinched portion don't crack.
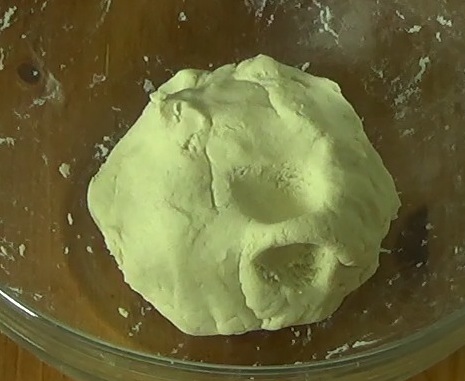
If the pinched dough does crack and you've used all the water, add a tablespoon more and hand mix until the dough reaches uniform moisture again. You should find the pinch test much improved. Relative humidity plays a role here—sometimes you need more water, sometimes less.
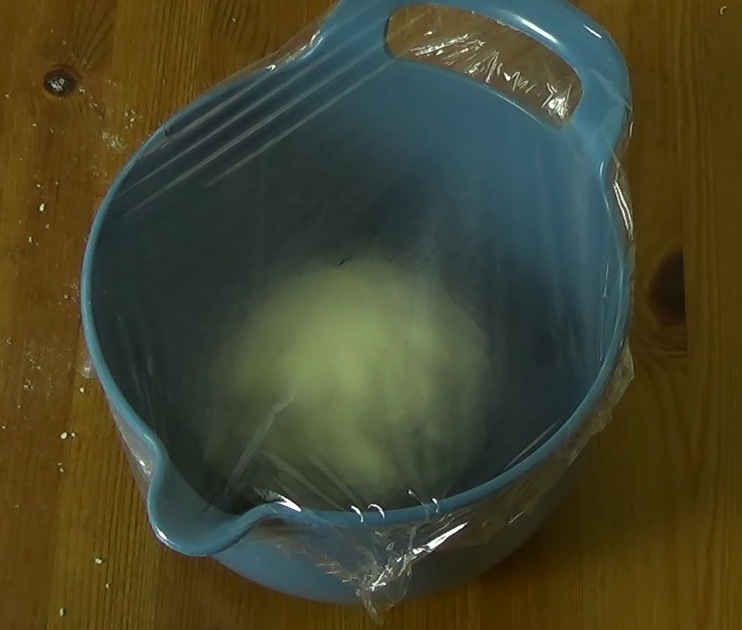
After the dough is the right consistency, place it in a small bowl, cover it with plastic wrap, and let it rest for an hour. After 45 minutes, put your two frying pans or griddles on the heat, one on medium-low and one on medium-high. If you're using cast iron pans, they're going to need the time to reach the desired temperature. Starting 15 minutes before you need them helps ensure that the first tortillas aren't undercooked.
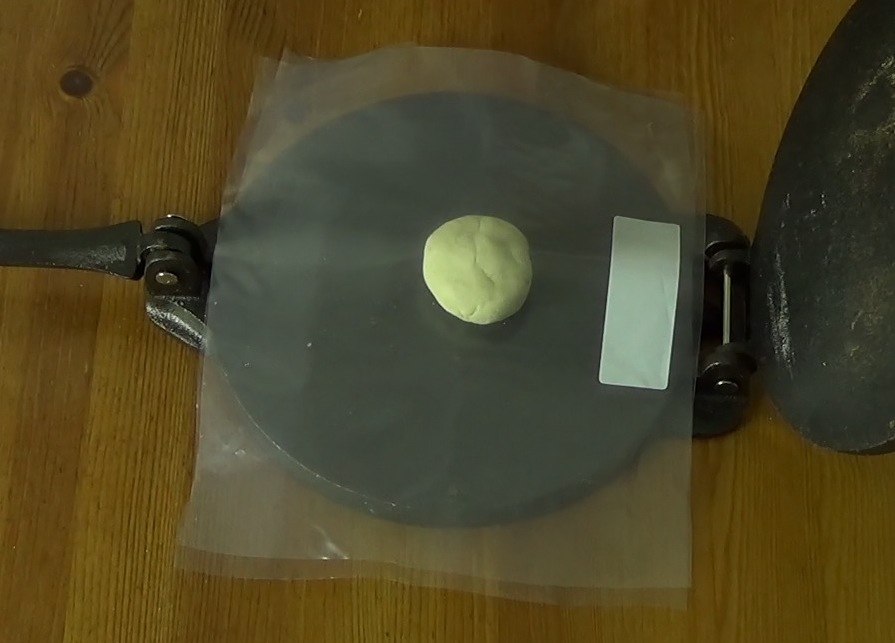
After the hour is up, it's time to make some tortillas. Lay one sheet of plastic on the bottom of the tortilla press. Take a ping-pong ball's worth of dough, slightly flatten it, and place it on the bottom piece of plastic. Lay the top piece of plastic on top of the dough.
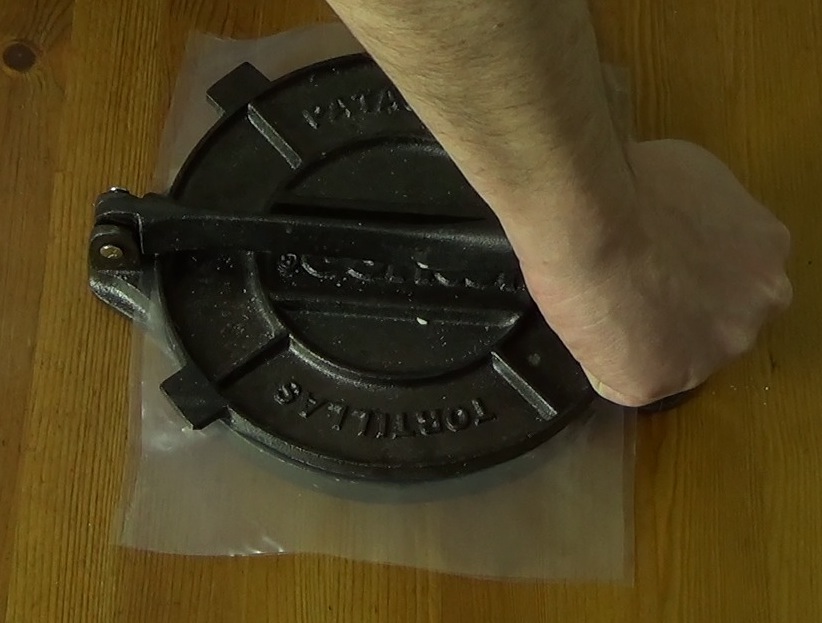
Press the dough down flat, but not too flat. Finding the right balance is going to take a little trial and error. If you press it too thin, the plastic will be difficult to remove without tearing the tortilla.
Because the two sides of the press meet on a bit of an angle, the first press is going to result in a slightly uneven thickness. Rotate the dough 180 degrees and press again to even it out.
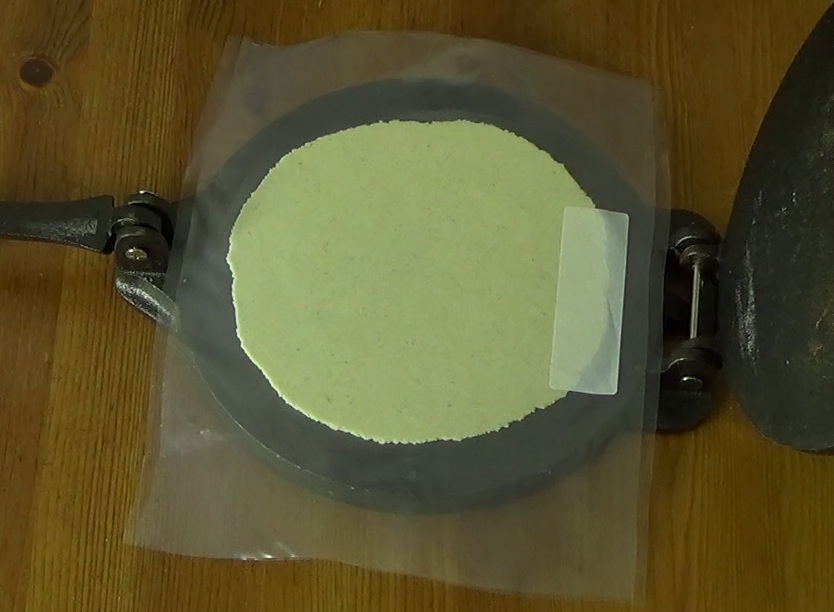
When you open the press, you should see a beautiful raw tortilla nestled between the two sheets of plastic.
Rest the bottom plastic in the palm of your hand and carefully peel off the top plastic, and then lay the plastic on the table, dirty side up.
Carefully transfer the exposed tortilla surface to your other hand and really super carefully peel off the bottom layer of plastic. Lay this plastic back in the bottom of the tortilla press, again dirty side up.

The result of this little maneuver should be a raw tortilla resting on your palm and fingers, slightly hanging over the heel of your hand. That overhang is important because it's the part that's going to hit the pan first.

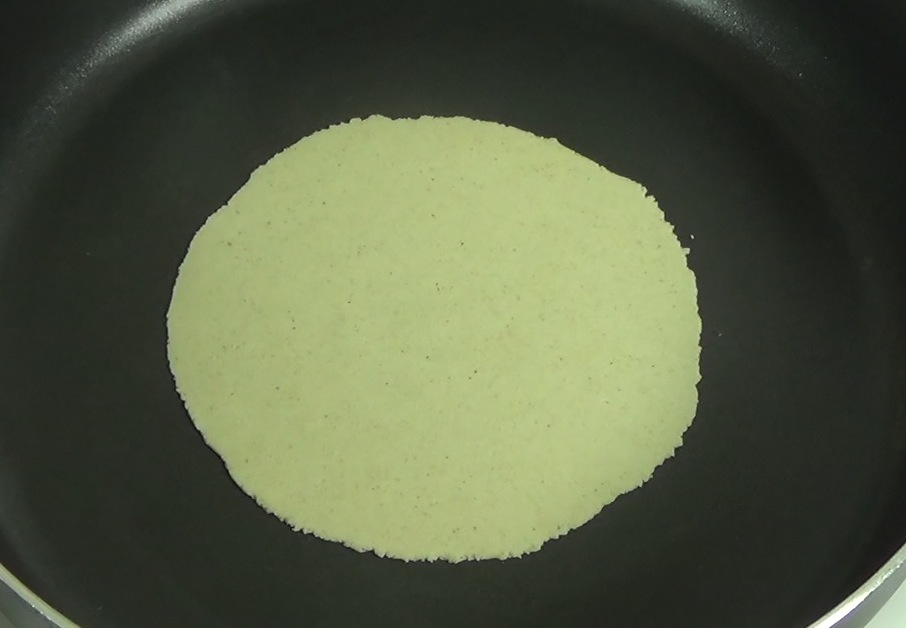
Bring the tortilla over to the low-temperature frying pan. If you're using a stopwatch, start it with your free hand just before putting the tortilla in the pan. Releasing the tortilla so it lays flat is easy to do, but it requires a little practice. Let the overhanging edge of the tortilla touch the pan and then rotate and slide your hand out from under the tortilla. Don't be discouraged if it doesn't work the first couple of times.

Let the tortilla cook for 20-30 seconds.
Then, flip it over and let it cook for 45-60 seconds. (Note: You shouldn't see a lot of steam coming off the tortilla while it's on the low-heat pan. If you do, reduce the temperature or the time.) I find that this time is just long enough to press the next tortilla.

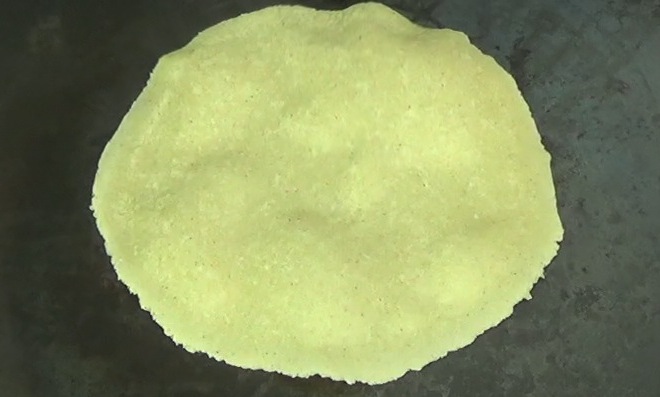
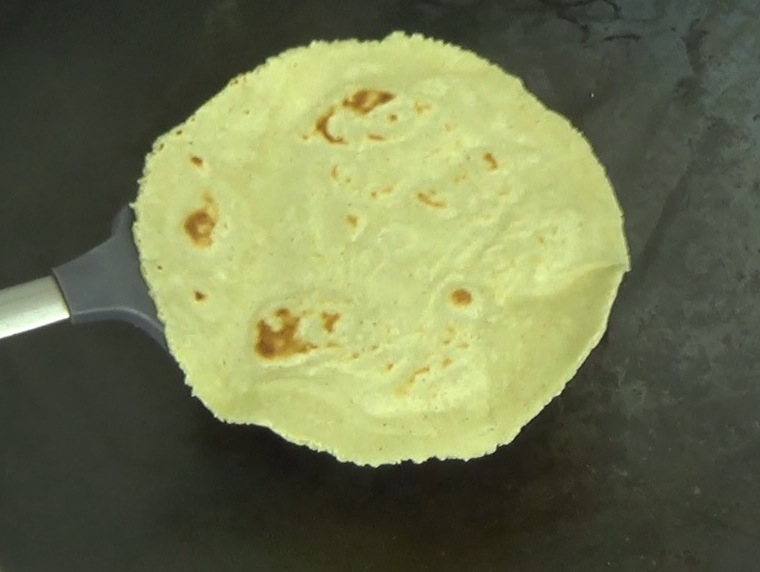
Next, pick up the tortilla with a spatula and flip it onto the hot frying pan, so that the first side is again in contact with the pan.

You should immediately see steam bubbles start to form inside the tortilla.
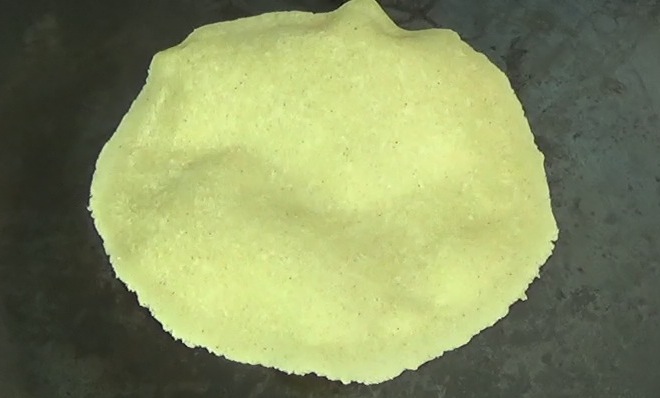
These bubbles get larger and coalesce.
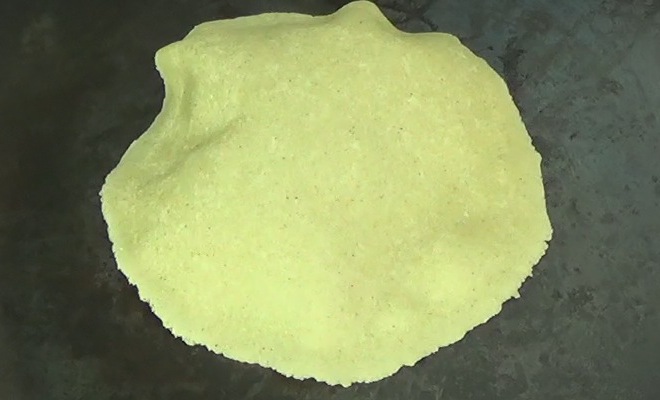
If everything works right (and it doesn't always), there should be one large bubble after about 15 seconds, taking up most of the surface of the tortilla.
Remove the tortilla from the heat, being very careful with the hot steam trapped inside. If you flip the tortilla over, you will see some lovely brown spots on the side that was in contact with the pan.
Add the new tortilla to the warmer and replace the lid.
Repeat and enjoy.
Want more like this? Please subscribe via the RSS Feed so you can read new posts on your favourite news reader.
Posted: Saturday, February 7, 2015